Upload and display 360-degree images
You can upload 360-degree images and display them in Cognite Remote. 360-degree images are often captured as part of a point cloud scan, but you can also capture them manually or using robots.
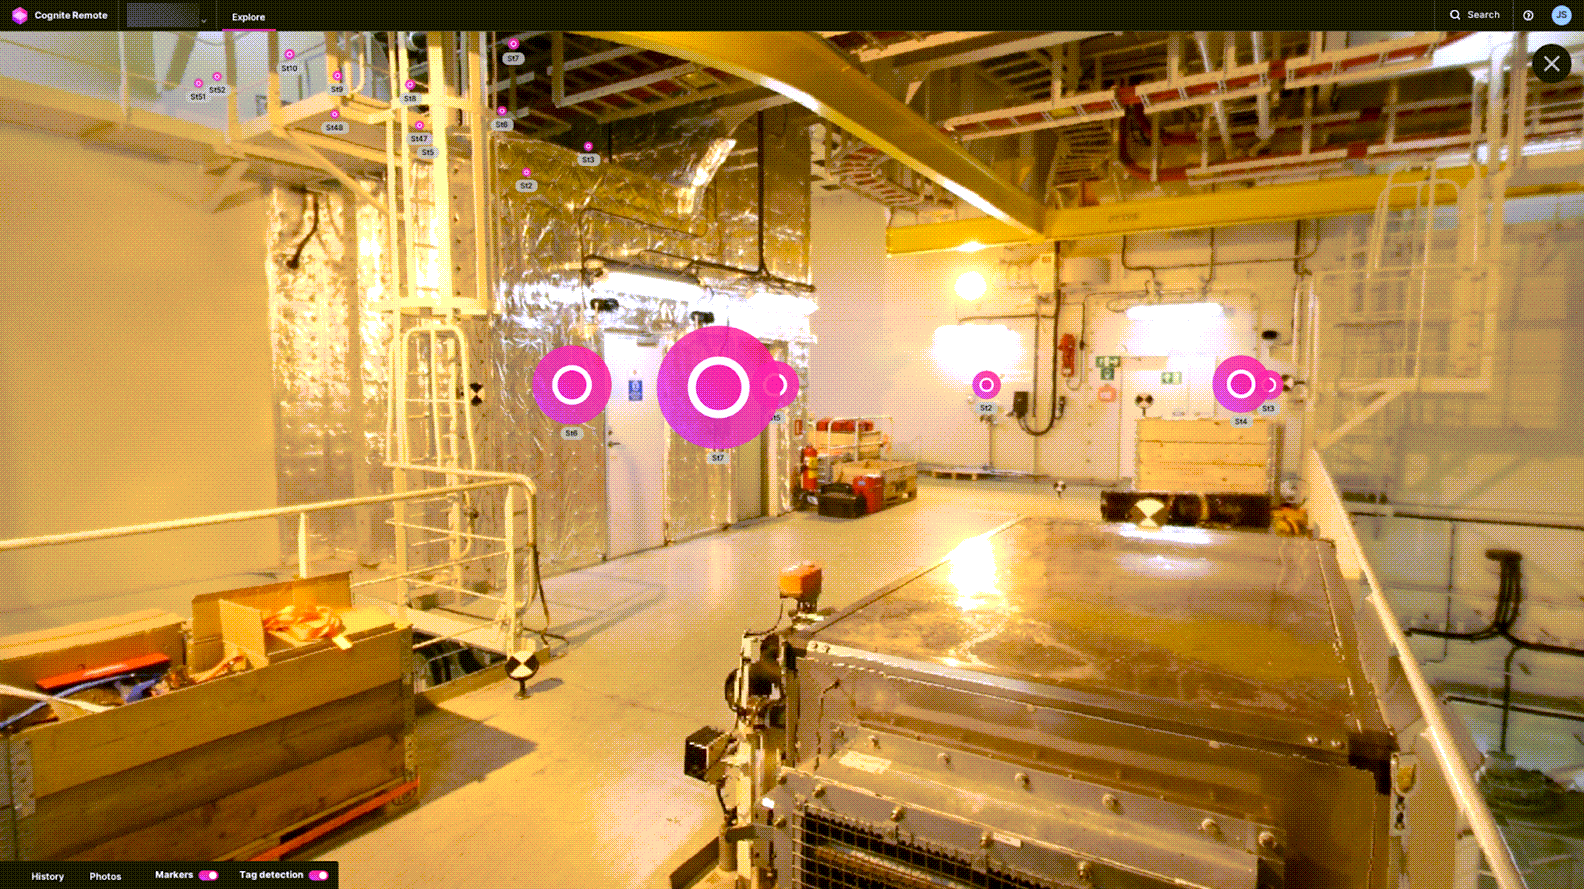
In Cognite Remote, the locations of the 360-degree images display as round purple markers in the 3D view. Select a marker to enter the specific 360-degree image, and use your mouse to rotate the camera in any direction. You can select other markers to move to nearby 360-degree images.
To display 360-degree images in Remote, you need to upload them to Cognite Data Fusion (CDF) as six cubemap images with a specific set of metadata. Together, the cubemap images constitute one 360-degree image, representing six directions (left, front, right, back, top, and bottom). Sometimes, the cubemap images are available through file exports from the scanning software, or they're embedded in E57 point cloud files.

You can also use a set of 360 panoramic images (equirectangular images). Before uploading the images to CDF, you need to convert them to cubemap images, for example with a tool like https://github.com/sunset1995/py360convert.
Upload cubemap images to CDF
Follow the steps below to upload the cubemap images to CDF, specify the location and orientation of the 360-degree images, and include a set of 360-degree images in the Cognite Remote twin configuration.
Upload the cubemap images to the Files API, for example using a Python script. Each image file needs a specific set of metadata:
Name Value Example site_idA common identifier across all 360 images in the set. You will use this identifier when including the images in a Remote twin. “site-S01-area-a03” site_nameA human-readable site name. “Norway Site S01 Area 03” station_idA unique identifier for the scanning position. “s01-a03-0012” station_nameA human-readable station name. Remote displays the name next to the 360 markers. “Area 03 - 0012” image_typeAlways “cubemap”. “cubemap” image_resolutionThe resolution of the cubemap image. The recommended resolution of cubemap images is 2048 x 2048 pixels. 2048 faceThe direction of the image (one of left, front, right, back, top, and bottom) “left” For each 360-degree image (group of 6 cubemap images), use the Events API to create an event to specify the location and orientation of the image.
Create each event with the type
“scan”. The following metadata needs to be part of the event:Name Value Example site_idA common identifier across all 360 images in the set. You will use this identifier when including the images in a Remote twin. “site-s01-area-a03” site_nameA human-readable site name. “Norway Site S01 Area 03” station_idA unique identifier for the scanning position. “s01-a03-0012” station_nameA human-readable station name. Remote displays the name next to the 360 markers. “Area 03 - 0012” translationThe x, y, and z coordinates for the position of the 360-degree image in millimeters. The values are typically available as metadata exported from the scanning software. “-425559, -437793, 933444” rotation_axisThe rotation axis for the image. “0.183801, 0.682871, 0.68273” rotation_angleThe amount (in degrees) to rotate the image around the rotation axis. 37.4556 When you have uploaded all cubemap images and created the events, you can include a set of 360-degree images in the twin configuration by adding an
Actorwith a component of type“image360Component”:"scenes": [
{
"actors": [
{
"name": "Site S01 Area 03 360 Images",
"transform": {
"type": "unrealTransform",
"scale": [1, 1, 1],
"position": [0, 0, 0],
"rotation": [0, 0, 0]
},
"components": [{
"componentType": "image360Component",
"siteIds": ["site-s01-area-a03"],
"ReadImageRotationFromMetadata": true
}]
}
}
}
]In the
siteIdsparameter under thecomponentssection, list the site IDs for the sets of 360 images that you want to include in the twin.Use the
transformsection if you need to move and rotate the images to match the images with other CAD models and point clouds in the twin.